Stylish Geometric Border
A Clean, Confident Frame—Not Just Another Border
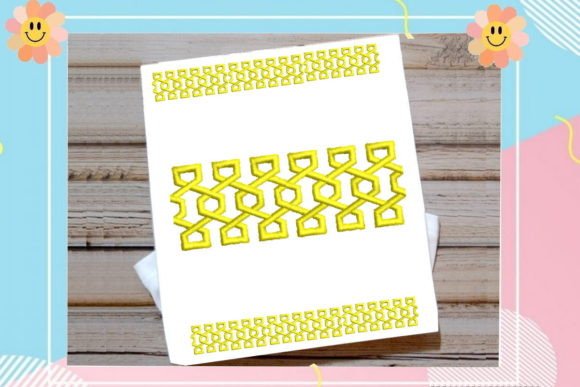
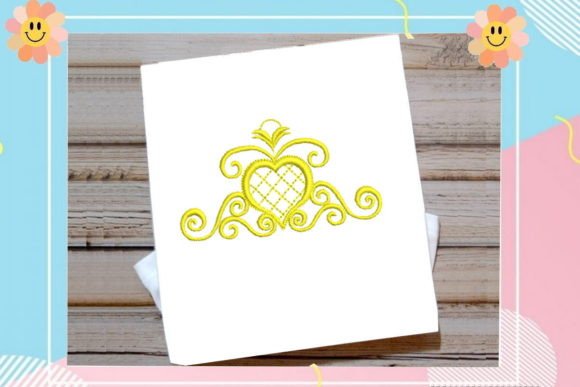
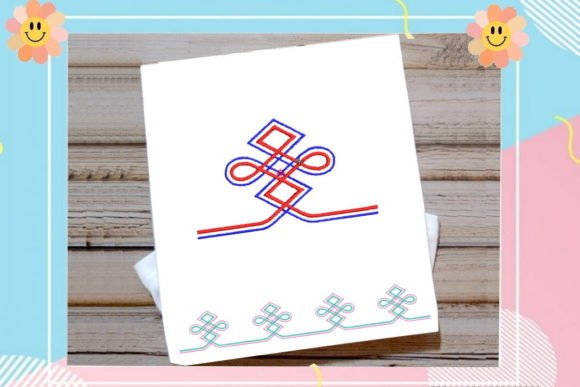
When I opened Stylish Geometric Border for the first time, I didn’t see “just a border.” I saw rhythm. A quiet confidence in its symmetry—sharp angles balanced with subtle curves, clean lines that don’t shout but still hold space. It’s modern without being cold, structured without feeling rigid. There’s a sweetness to it—not cutesy, not nostalgic—but warm, intentional, and quietly sophisticated. That’s rare in geometric embroidery files. Most lean either too clinical or too playful; this one lands right in the middle, making it unusually versatile for real-world use.
Where It Shines: Real Projects, Real Reactions
Last week, I used Stylish Geometric Border on a set of linen tea towels for a local boutique launch. We stitched it along the bottom hem—3.2 inches tall, centered—and paired it with minimalist monogrammed initials above. Customers kept picking them up, turning them over, running fingers along the satin-stitched edges. One said, “It feels like a detail someone *cared* about—not just added.” That’s the hallmark of a well-designed machine embroidery design: it elevates the handmade product without overwhelming it.
It works equally well on custom apparel—think sweatshirt cuffs, tote bag hems, or the collar edge of a baby romper. On a lightweight cotton apron? Crisp and grounded. On a medium-weight denim cap visor? Surprisingly graceful, as long as you adjust stabilizer support. And yes—it holds up beautifully as an embroidered patch when trimmed and fused, especially for craft fair vendors or Etsy sellers packaging small-batch accessories.
Where to Pause—Not Every Fabric or Fit Is Equal
Don’t rush this into your next stretchy knit t-shirt project. While the stitch density feels moderate—not overly dense, not sparse—the sharp corners and tight turns demand stability. On thin fabric or high-stretch materials, you’ll need cutaway stabilizer (not tear-away) and possibly a topping for clean surface definition. I tested it on a soft jersey baby onesie and found the inner angles softened slightly—still lovely, but less precise than on stable cotton or linen.
Curved surfaces like baseball caps require thoughtful placement: avoid wrapping it fully around the front panel. Instead, anchor it across the flat center portion where hoop pressure stays even. Also, skip using it near seams or darts unless you’re willing to re-hoop mid-stitch—you’ll lose registration on fine details.
Dark fabric? No problem—if your thread colors are rich and contrasted. But test black-on-black or navy-on-navy mockups first. Some fill-stitch sections can blur visually if thread and fabric share too much tonal similarity. Likewise, textured fabrics like bouclé or thick terry cloth will mute fine line work; reserve Stylish Geometric Border for smoother surfaces when clarity matters most.
What It Adds Beyond Stitching
This isn’t just decoration—it’s visual shorthand. When customers see Stylish Geometric Border on a holiday kitchen towel or personalized gift box lid, they register care, cohesion, and intentionality. That builds trust. For small shop owners and Etsy sellers, that perception translates directly to perceived value—and willingness to pay a premium.
It also supports brand consistency. Whether you’re building a cohesive line of nursery decor or launching a capsule collection of embroidered apparel, this border acts like a signature frame—subtle enough to recede, strong enough to unify. I’ve used it across three different product categories (baby items, home textiles, and boutique apparel) and customers have commented—unsolicited—on how “everything feels like it belongs together.” That’s branding done right, stitch by stitch.
Designer Notes You’ll Actually Use
- Always test on scrap fabric first—especially if pairing with contrasting thread colors or unusual stabilizers.
- Review stitch density visually before hooping: look for areas where fill stitches meet satin borders. Tight junctions may need slight digitizing tweaks if your machine hesitates.
- Confirm hoop size compatibility. This design scales well, but shrinking it below 2.5 inches risks losing definition in inner corners.
- Inspect small details in black-and-white mockups. What reads as elegant in color might vanish on dark backgrounds if contrast is low.
- Use proper stabilizer: medium-weight cutaway for knits, tear-away for stable wovens, and optional water-soluble topping for ultra-smooth finishes on delicate fabrics.
- Check licensing before selling finished products or bundling Stylish Geometric Border into digital embroidery bundles—it’s essential for commercial embroidery, Etsy sellers, and craft business scalability.
Final Thought: A Border That Earns Its Place
Stylish Geometric Border doesn’t beg for attention—it earns it. In an era of oversaturated designs and frantic embellishment, it stands out by doing less, but doing it with precision and purpose. It’s the kind of embroidery file I reach for when I want my client’s product to feel thoughtfully made, not just decorated. Whether you're stitching personalized gifts, building a small shop product line, or sourcing design assets for printable mockups, this border delivers quiet authority—no hype, no filler, just clean, confident craftsmanship.